How to Measure for a proper Fit
Did you know that a woman's bra size can fluctuate from year to year and sometimes even month to month? On average, you should measure yourself at least once a year but more frequently if you go up or down a size in your regular clothing. That's why it's important to know how to property measure yourself, so you can choose a comfortable bra with confidence; a bra that will look great an feel good!
Choosing a bra that gives you the comfort you need will be a breeze when you fllow these few simple steps, so let's get started!
There are two aspects to finding your correct bra size and they are band size and cups size. The band size is the size of the bra brand around the torso. The cup size is the circumference measured around the bust over the fullest part of the breast.
First you'll need a standard tape measure. You should be able to find one at your local sewing store or even at your local drug store. It's inexpensive and handy to have around. Second, you'll need to put a comfortable, well-fitting, non-padded bra.
Step 1 - Measure Your Band Size (Under Breast)
With your bra and starting at zero on the tape measure place it directly undermeath the breast where the bra band sits. Make sure that the measuring tap runs horizintally around the upper body and is at the same height in the front and the back. The measuring tap should provides 90% of your support. If it's not tight enough your bra band will be loose and will not be supportive enough. (You may want to enlist the help of a close friend to help, if you need help.)
Measure underearth the bust line from the center breastbone in the front all the way around.
![]()
Write down the nmber of inches. If that number is a fration, round it up to the next whole number.
Step 2 - Measure Your Cup Size (Over Breast)
Mext! You're going to measure your half-chest circumference. Make sure that the measuring tape runs horizontally around the upper body and is at the same height in the front and the back of the body. Starting at zero on the tape measure, position the tape measure at the center the spine in the back then loosely wrap the tape measure over the fullest part of your breast directly above the nipple.
Write down the munber of inches, then double that number. If that number is a fraction, round it up to the next whole number.
Step 3 - Calculate Your Cup Size
Numw, Subtract your brand size measurement from your cup size measurement and that will give you your cup size.
Cup size for a double mastectomy would be the same at that wom prior to surgery. If you want to go larger or smaller, select one size above or below your previous size.
![]()
Step 4 - Determine Your Bra Size
Finally, all you need to do is combine the cup size with your brand measure to determine your bra size. For example, 38B means you have a 38-inch band and a B cup.
How to know when Your Bra is a Good Fit
Now that you know how to determine your bra size here are a few helpful hints on how to know when your bra is a good fit:
- The cups are smooth and the edges lie flat against your chest.
- The straps stay in place and don't dig into your shoulders.
- The center section lies flat.
- The bra is snug and low in the back.
Tip: Because cup size can fluctuate base on weight change, hormonal changes, bloting, or further surgery try to check your bra size from time to time. Also, try to measure on a day when your breast feels relatively normal. Many women buy a bra style that they love in two sizes - one size for regular days and a size up for days when they feel a little fuller, that way they can avoid the discomfort of having to squeeze themselves into a bra that's temporarily too small.
Now that we've got the technical stuff out of the way, let's move on to chooseing a wonderful new bra!


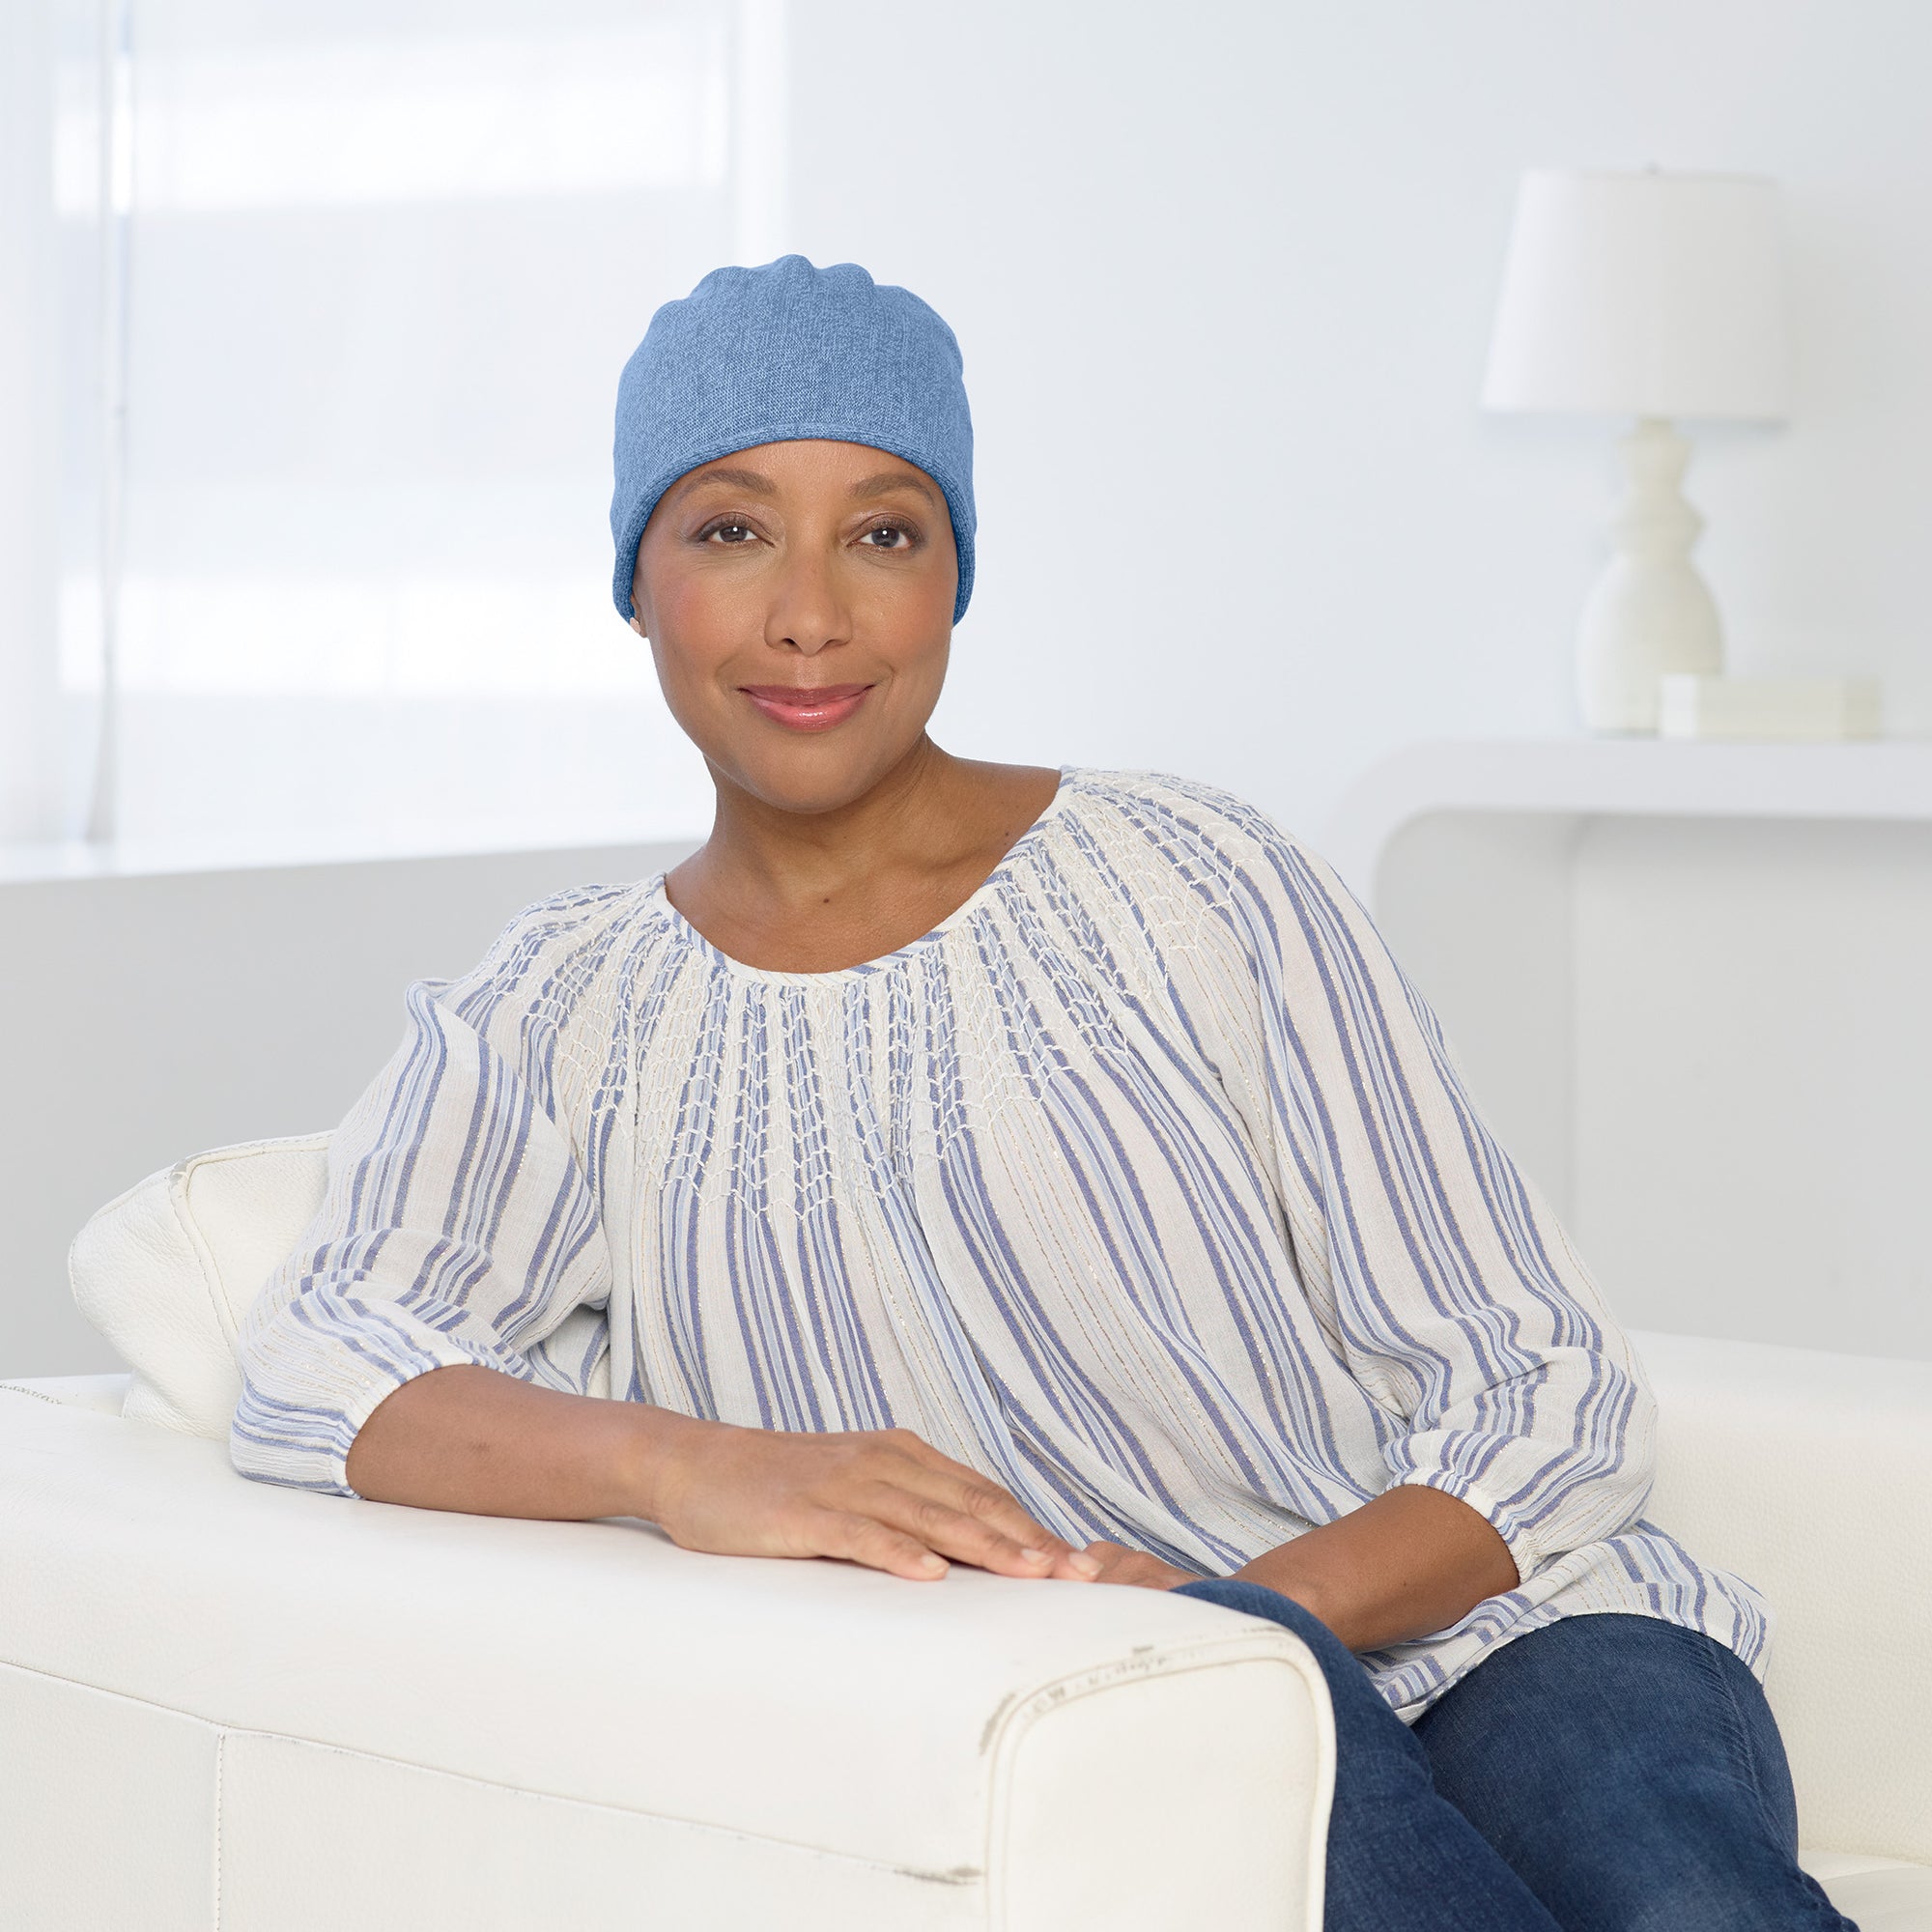


 If you are coping with hair loss, our Scarves are an attractive and comfortable alternative to wigs and hats. Scarves are a good investment, too, because they can be used in so many ways after your hair grows back. For those whose treatment will be ongoing, scarves will continue to be very helpful.
 The Bow Style is one of the prettiest and easiest choices.


 Another very flattering style, the Rosette, creates the illusion of hair.


